Meine Abschlussbescheinigung für den Kurs “Anfängerkurs: Blockchain & Kryptowährungen” http://ude.my/UC-I5L5MEX9 via
@udemy
ROSCon 2016 – Seoul
This years ROSCon is held in Seoul.
http://roscon.ros.org/2016/
https://vimeo.com/search?q=roscon+2016
https://www.youtube.com/results?search_query=roscon+2016
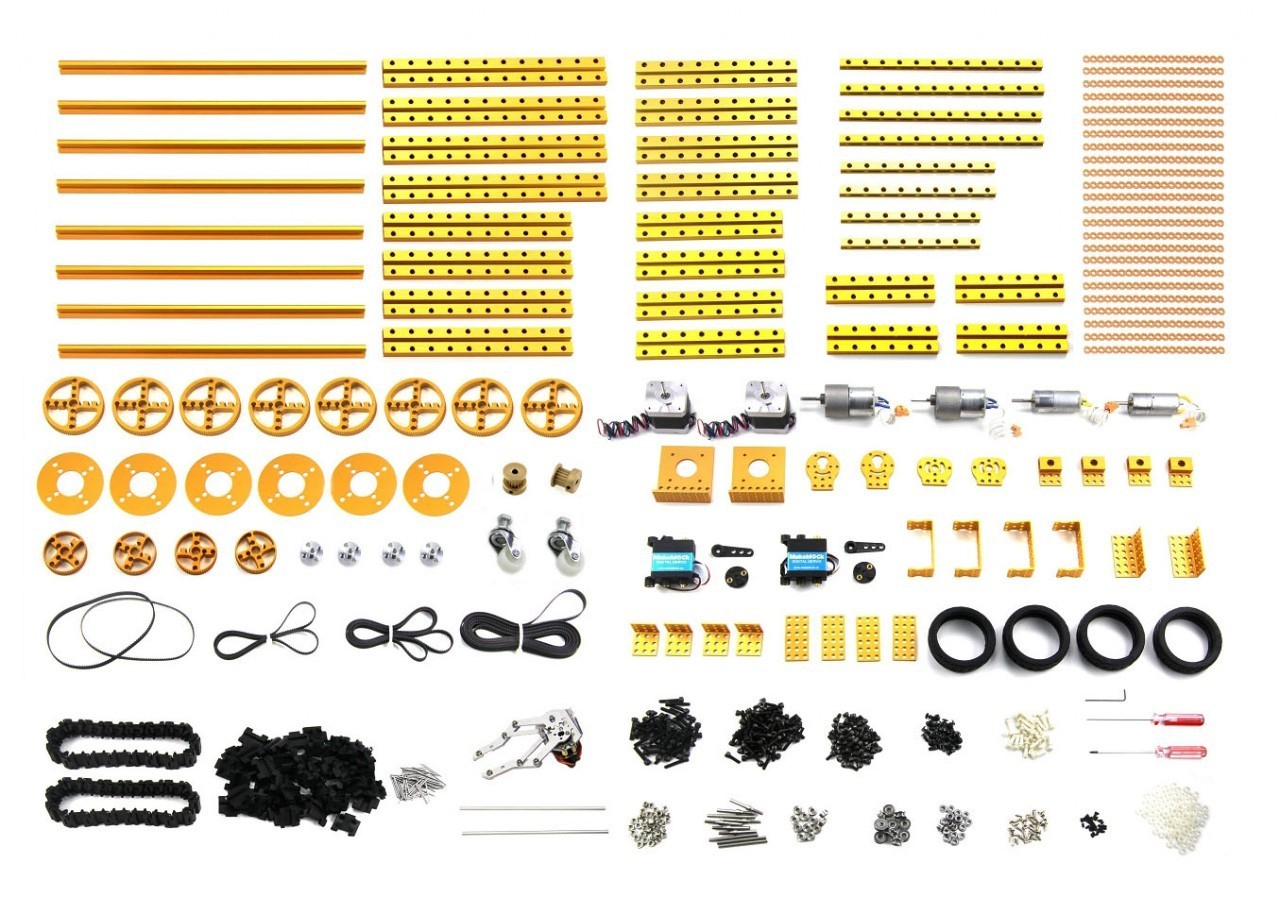
A makeblock 3d printer chassis
My Mendelmax 3d printer has come to age and I’m not anymore satisfied with the format and design, so when I found some 50% discount on makeblock parts at my favourite tech store EXP Tech, I decided to start a new 3d printer design from ground up using makeblock components.
I’m not yet sure which basic hardware principle the 3d printer will finally have (CoreXY vs traditional 3 axes, but definitely not a delta system), using v rail sliders vs linear motion guides or traditional round motion shafts.
I bought so many makeblock parts that I might be able to test out any of these concepts.
Further I was able to get a milling spindle and a capacitive distance sensor, and maybe I’ll add a laser engraving option later on.
Also replacing the electronics RAMPS and arduino with more capable stepper drivers and 32bit microcontroller with floating point support might change the way my old Mendelmax used to print things, allowing bigger speeds and more smooth and exact positioning than before.
We will see, lots of stuff to try out in my holiday.
Makeblock Lab Kit
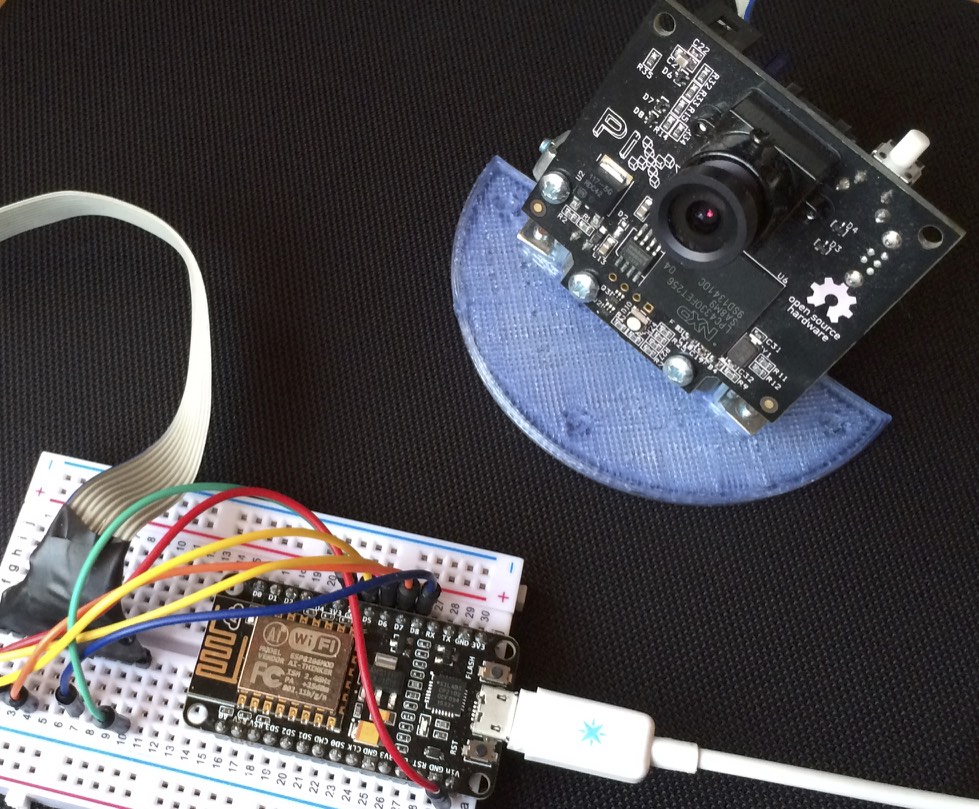
Connecting the Pixycam via NodeMCU WiFi
Finally, whenever I tried to connect my 4 Pixycam for realtime coloured object tracking for the Teddy Robot, I experienced trouble wheter connecting them via USB (saturating the USB Host adapter bandwidth, or colliding due to a previously non-existing Pixycam Device enumeration), connecting them via serial or I2C to my micropython boards (bandwidth problem, not enough serial lines for 4 cameras), connecting them via SPI (previously no slave selection support on pixies).
Now with the NodeMCU board and SPI SS support in the latest Pixycam firmware, I managed to run the color object tracking code on only one microcontroller querying 4 cameras via SPI on one bus in full speed and even transmitting all the block data via Wifi to a websocket server.
With slower arduino or even maple or micropython STM32 boards this would have never been possible.
The websocket server has a low enough latency of 2ms, which is great via WiFi. When trying to relay the same data via MQTT I got a lot of stack traces again. One day I need to directly embed ROSserial via WiFi to see if the websocket translation into ROS can be omitted.
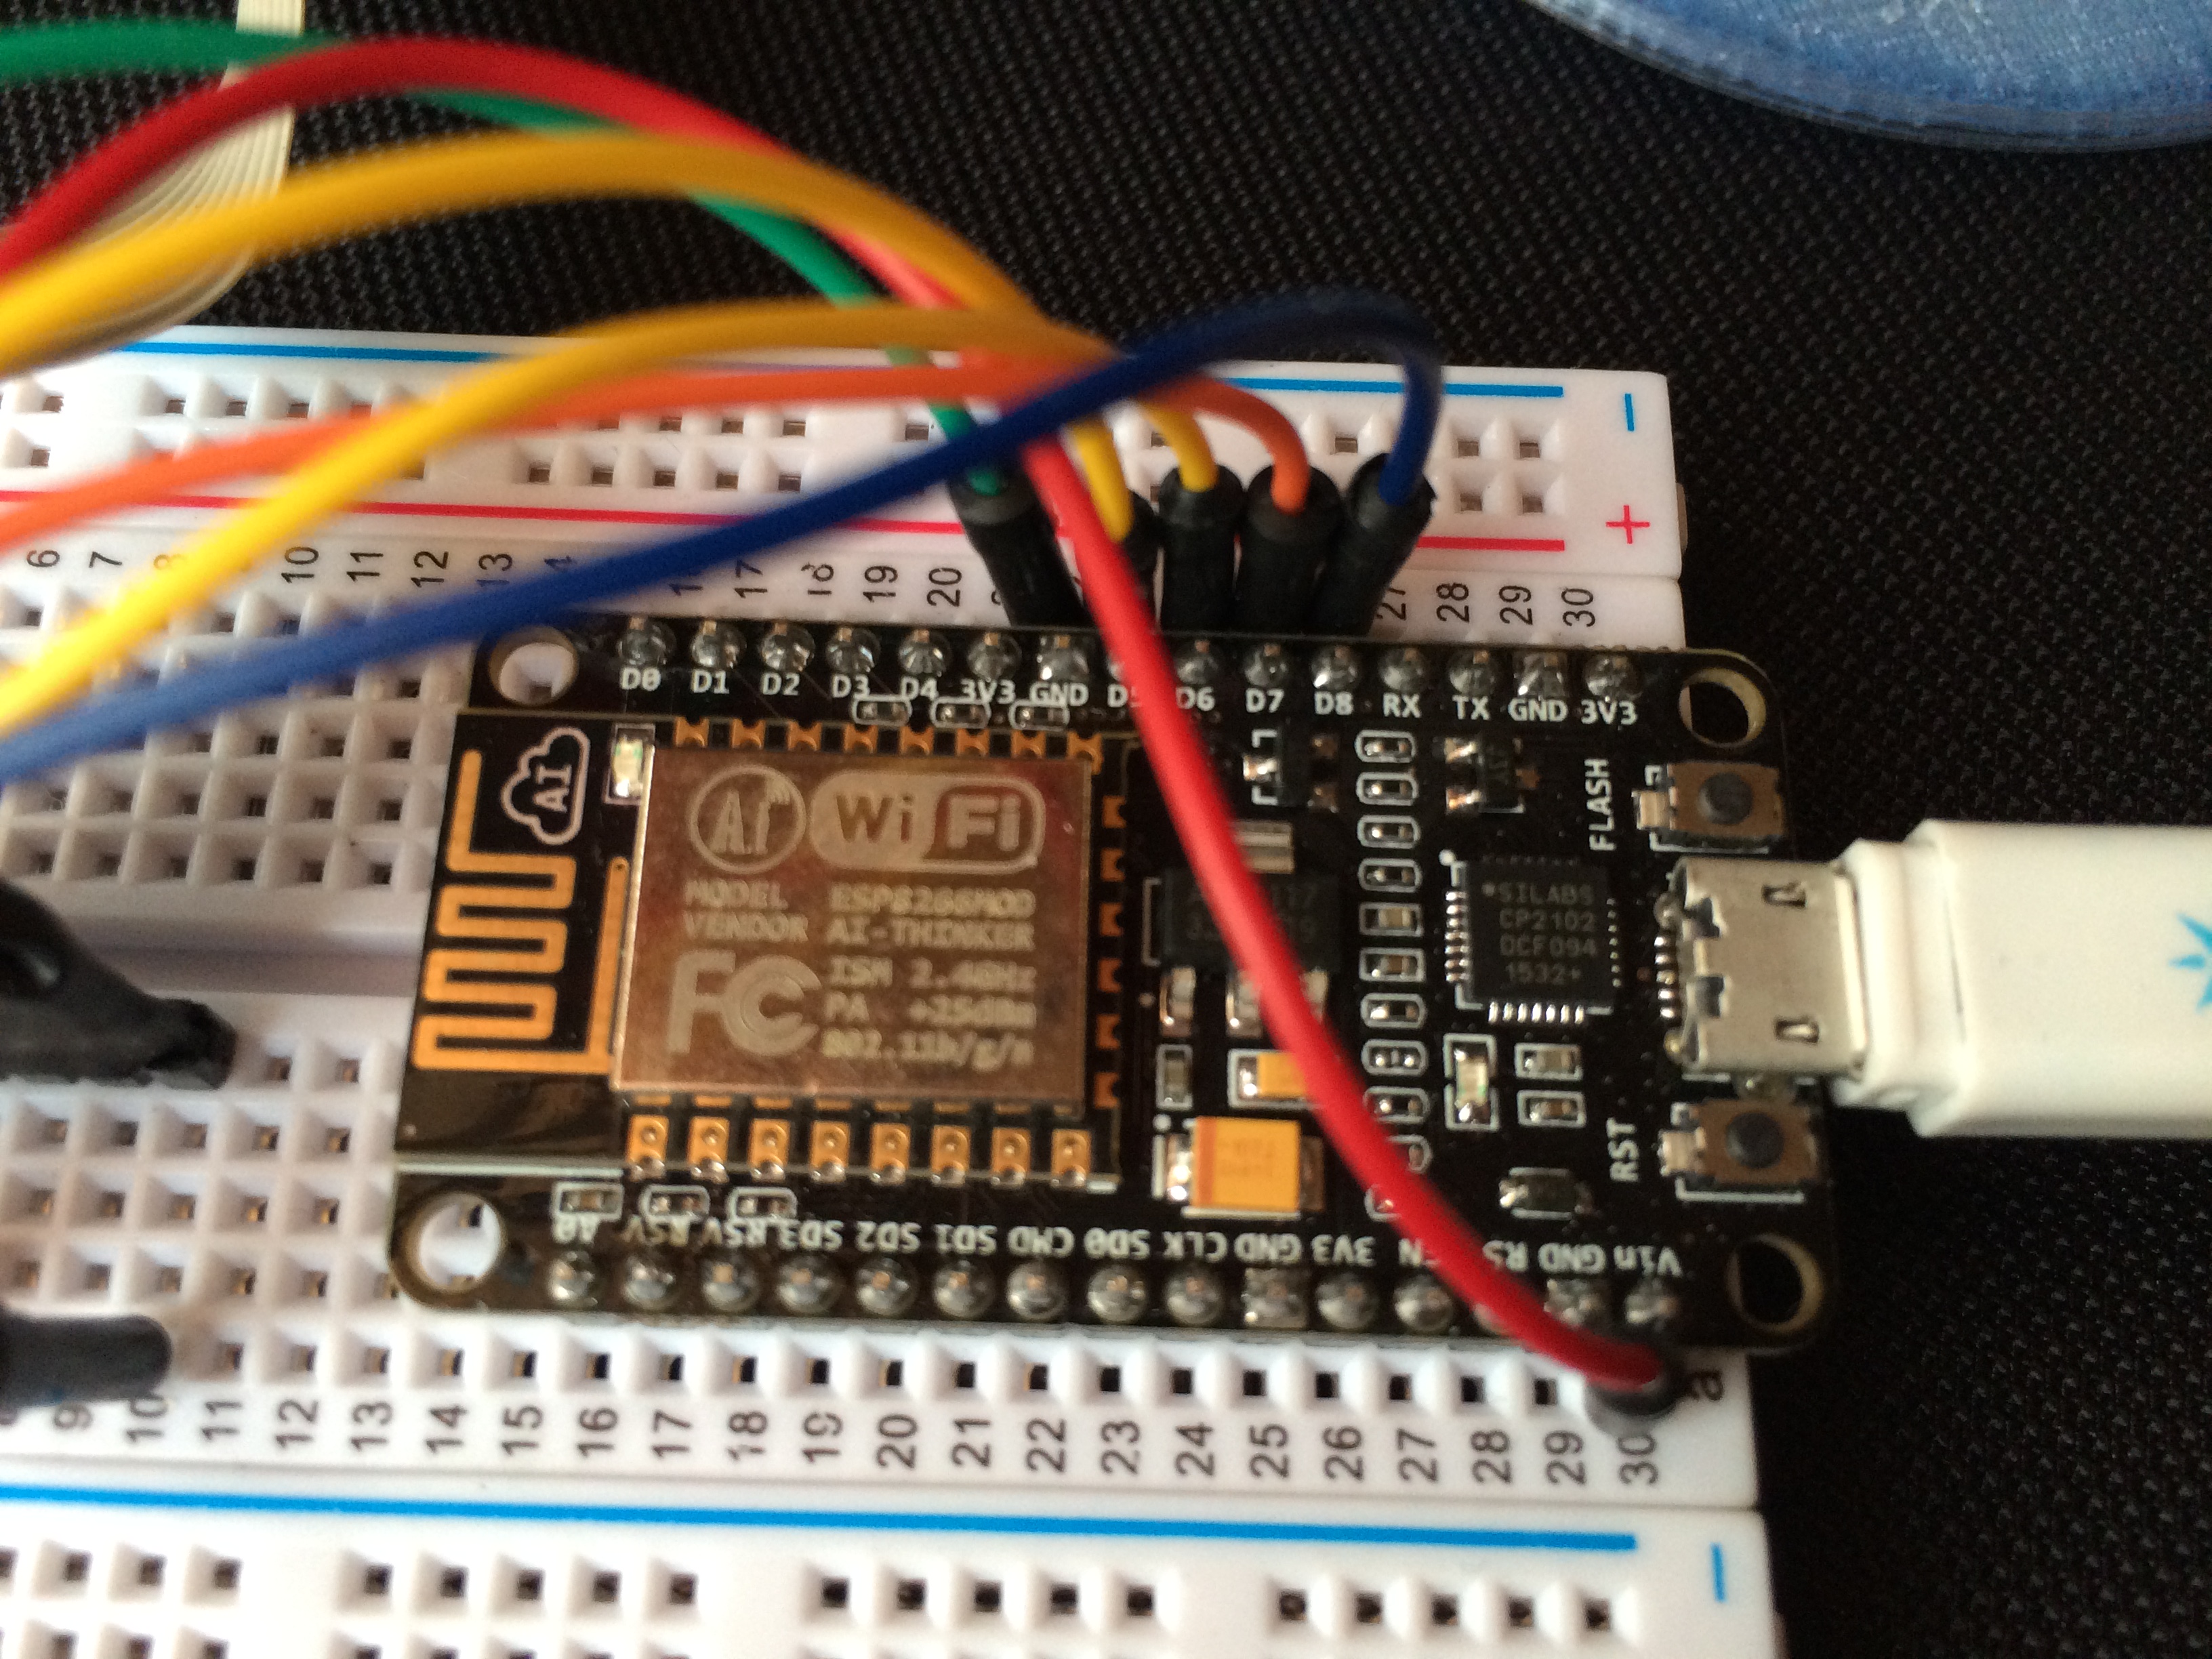
Experimenting with the ESP8266 NodeMCU
Another microcontroller finally found its way into my hands.
The ESP8266 based NodeMCU is running at 80Mhz (or even 160MHz) and has WiFi built in for a ridiculous pricetag of only 10 Euro.
Initially they come with an embedded LUA interpreter preinstalled, to allow some easy scripting of event based code rather than writing and compiling C code. As LUA is not completly reentrant after Wifi events and also consumes a lot of processing power, my projects will be further written in C, so I evacuated the LUA bootloader.
Compared to Spark Cores and their always connected to the cloud behaviour, they can be configured within the standard Arduini IDE (using the ESP8266 plugin). Code can even be flashed over the air and/or served from a webserver. And if neccessary they can provide an Accesspoint of their own.
Some drawbacks that I’ve already found is that Wifi disconnects when using the only analog pin on the board, and I’ve seen lots of stack traces and crashs whenever the Wifi background timing gets disturbed to much by local code. Otherwise for short codepaths the NodeMCU can instantaneously turn every small arduino project into a more capable Internet of Things project, without much effort and/or changing of lots of code.
I’m even thinking about replacing my 5 Spark Cores which are monitoring temperature, humidity, windows, doors, light and motion at my home. Only the analog thing loosing Wifi connectivity is a showstopper for me.
For more digital projects and lots of serial communication, this is the way for me to go, so I am ordering another 2 NodeMCUs.
Arduino Day 2016
Today is Arduino Day !
https://blog.arduino.cc/2016/04/02/lets-celebrate-arduino-day-and-genuino-day/
Yihaa – Rancher with Kubernetes
Starting today, my favourite conatiner orchestration Rancher now also supports Kubernetes across all host instances, thus creating a real elastic service environment on top of docker.
It’s realy great to see how kubernetes automatically scales across all available instances and re-spawns processes after upgrades or migrates services on reboots of host instances.
The kuberetes app catalog isn’t working at the moment.
VMware NSX training this week
Time to get my hands on software defined datacenter technology.
https://www.vmware.com/de/products/nsx
Quite similar to other cloud architectures like OpenStack,
much more GUI friendly, great for integration with 3rd party
firewall products.
Long live the API !
iOS and Android application code audit
Playing with Android Studio and iPhone simulator this week, to get an application ready for source code review without having to release the code itself.
As usual the code within android is a bit messy, whilst iOS code is absolutely clean and easy to read. What I expected.
Running the android emulator without Intel HAXM acceleration is horribly slow.
No problems an absolute comfort on iOS with Xcode on the other side. (admitted that iOS code is being compiled to native x86, so this is quite an unfair comparison)
https://developer.apple.com/library/ios/documentation/IDEs/Conceptual/iOS_Simulator_Guide/Introduction/Introduction.html
https://developer.android.com/tools/devices/emulator.html


